Navigation:
|
Part 1 — Nano Server Creation |
DISCLAIMER: Starting with a 1709 update, Microsoft has shifted Nano Server from being a compact server option to an optimized container image and will continue to improve it in this direction only. Please refer to release notes for more details.
Windows Server 2016 comes with many brand-new features and options. One of the new deployment options is Nano Server, a new headless installation option for Windows Server 2016. Nano Server is a highly-minimized installation that is 20-25x smaller than traditional Windows, which only includes the required bits for the running OS. A unique component of Nano Server is the fact that it has no Graphical User Interface (GUI) and no built-in management tools, it’s the only recovery console where you can change network settings, firewall rules, and reset WinRM. The administration is required to be completed remotely via remote management tools such as PowerShell or Server Manager. The main premise behind this allows the server and applications to better utilize resources while at the same time providing higher security due to the much smaller attack surface.
If you have specific requirements, such as Hyper-V, Windows Failover Cluster, IIS, Scale-Out-File-Server or the DNS role, then you need to add those specific packages during (or after) the Nano Server deployment. During the image package generation process is when you can set the required roles that will be present.
Today I will walk you through the process of creating a Nano Server host that will serve as a Hyper-V node. This Hyper-V node will become a member of a Windows Failover Cluster as well.
Creating a new Nano Server
There are several ways to build Nano Server. You can use Nano Server Image Builder with a graphical interface or PowerShell. In this post, I’ll concentrate on the PowerShell deployment. So, unlike traditional Windows Server installations, the Nano Server install is initiated via a folder that is located on the Windows Server 2016 ISO. Within this folder are all of the required components to get up and running. To start with, you should download the Windows Server 2016 ISO image and mount that image to a Windows Server or Windows 10 machine already deployed within your environment. The first step is to fire up PowerShell ISE in administrator mode and then load the Nano Server module. Below you’ll find all the steps for the new deployment.
Once we have our PowerShell ISE session running, let’s set the PowerShell execution policy. This will let us run PowerShell Scripts without any restrictions. Without this, only single commands or digitally signed scripts can be run (defaults depends on Windows version you are running):
Set-ExecutionPolicy -ExecutionPolicy Unrestricted
Next, we’ll need to create the image. In my environment I have Windows Server 2016 ISO mounted to d:\ so I’ll start with going to the Nano folder on install ISO:
cd d:\NanoServer
Import-Module .\NanoServerImageGenerator\NanoServerImageGenerator.psm1
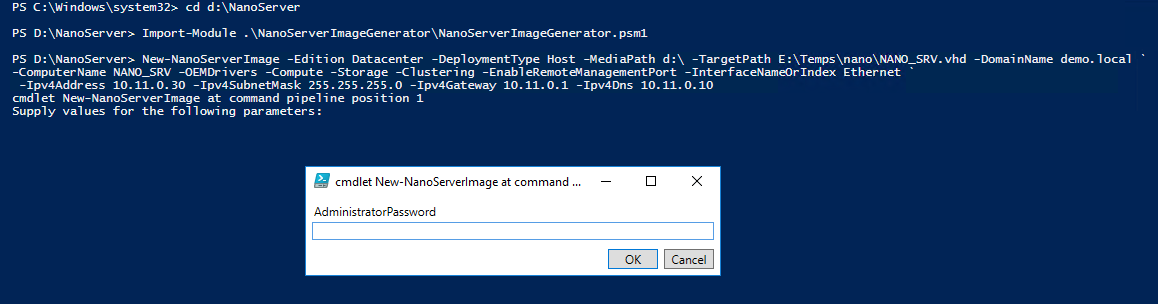
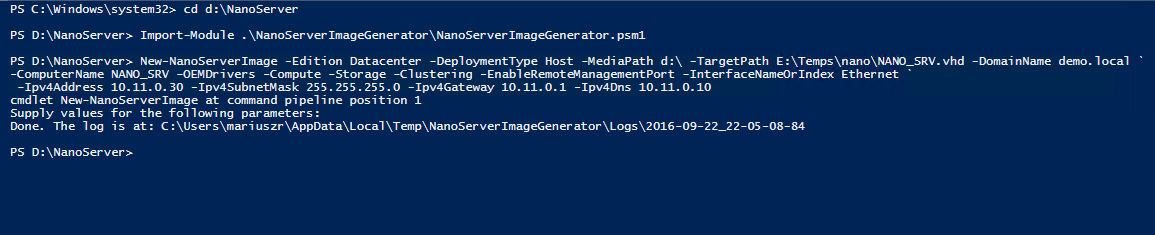
New-NanoServerImage -Edition Datacenter -DeploymentType Host -MediaPath d:\ -TargetPath E:\Temps\nano\NANO_SRV.vhd -DomainName demo.local -ComputerName NANO_SRV -OEMDrivers -Compute -Storage -Clustering -EnableRemoteManagementPort -InterfaceNameOrIndex Ethernet -Ipv4Address 10.11.0.30 -Ipv4SubnetMask 255.255.255.0 -Ipv4Gateway 10.11.0.1 -Ipv4Dns 10.11.0.10
- Edition allows you to select the Nano Server flavor: Standard or Datacenter. If you plan to use Shielded VMs or Storage Spaces Direct, then Datacenter it is. A Datacenter license also has the right to use unlimited Windows Server VMs on that host
- DeploymentType Host: This will prepare the image for a physical machine (Guest switch is dedicated for guest VMs)
- DomainName: If you specify this parameter, Nano will use offline domain provisioning and the Nano computer account will appear in Active Directory domain. The whole process will be completed during the first boot. If you are redeploying this image, an additional parameter – ReuseDomainNode – can be required. This option can only be used when the computer we are using to prepare Nano is domain joined and in the same domain as our future Nano Server. In other cases, a domain blob harvest can be used.
- OEMDrivers package contains the basic set of drivers, mainly for network and storage adapters.
- Compute is responsible for deploying the necessary Hyper-V bits
- Storage package contains storage components
- Clustering – Failover clustering
- EnableRemoteManagementPort will enable WinRM (from different subnets)
- Another interesting parameter (not used in my example) could be MaxSize 100GB. It will allow the Nano VHD or VHDX to grow up to specified value. This is important if you plan to store some additional files on the c:\ path of Nano Server (i.e. local virtual machines).
- If you have specific physical hardware drivers, you can add those with the parameter -DriversPath <path:\Drivers>


At this stage, we should have the Nano Server image ready. With our next article, we will deploy it to a physical server.