Read the full series:
|
Ch.1 – Architecture & Requirements |
Ch.9 – Volume recovery |
Today, more and more devices have BitLocker encryption enabled by default. For instance, every Microsoft Surface tablet has an operating system volume protected by BitLocker out of the box. For this very reason, we decided that that Veeam Endpoint Backup FREE should fully support BitLocker encrypted volumes.
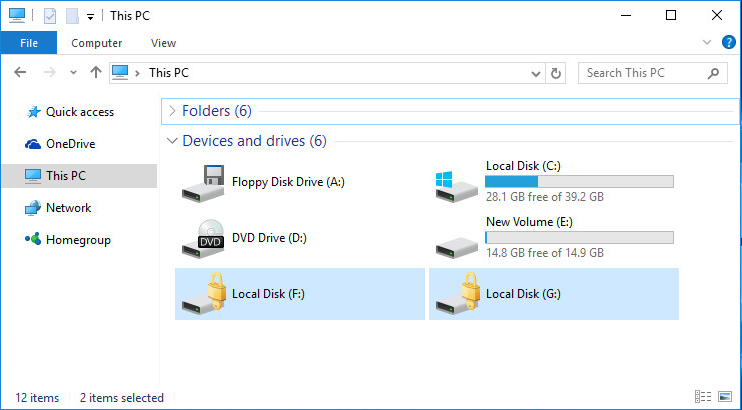
Protecting data
In most cases, you won’t even notice that the volumes are BitLocker is enabled and Veeam Endpoint Backup FREE will perform its duties without any issues. However, you may encounter issues because of source and target volumes being protected.
Imagine the following case: You have both source and target volumes protected. What should you do in order to backup on an encrypted source volume to an encrypted target volume?
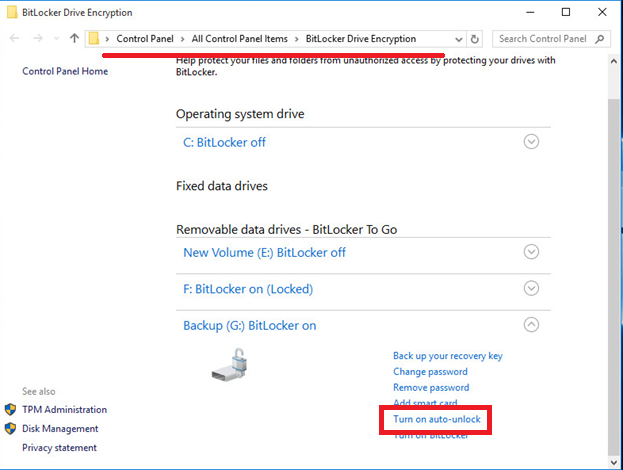
The only thing you need to do is unlock the source and destination volumes. This can be done manually by right-clicking the volume and selecting “Unlock”, then you will be prompted for an unlock password. However, the best approach is to use Windows built-in, auto-unlock functionality, like on the screenshot below.
For protected source volumes, you may notice the built-in, pre-configuration notification asking to unlock it now or later:
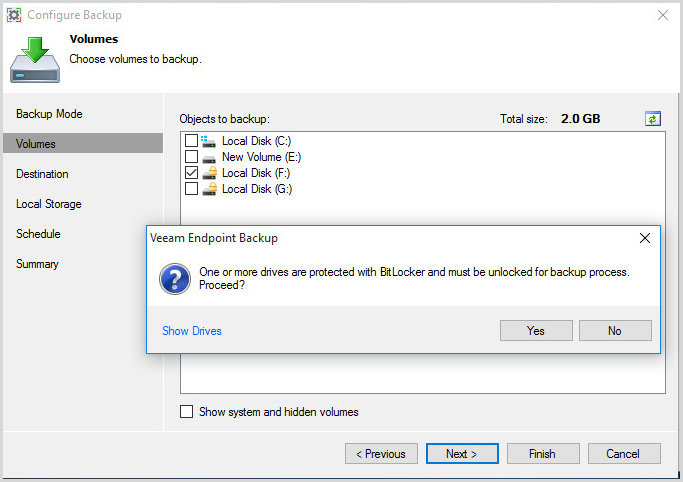
By the way, if you forget to unlock one of the volumes, the backup job will fail with noticeable error “Volume X is protected by BitLocker and must be unlocked…”

Restoring volumes
You will face similar challenges while performing file-level recovery and volume-level recovery. You must unlock the source repository where the backup file resides and restore destination. And, if selecting a backup file Windows will automatically prompt for a password to unlock the drive, the destination volume should be unlocked manually like described at the beginning of this blog post. Otherwise, you will prompted to do so.

Bare Metal Recovery
Now let’s think of bare-metal recovery. When computer volumes are protected with BitLocker, you obviously cannot access the backup files and use those volumes as a restore destination. Moreover, you can’t unlock the volume with Windows native utility.
Luckily for you, we’ve included the similar auto-unlock functionality inside Veeam Recovery Media. Here is what you can do:
Unlock the source volumes protected with BitLocker
If any local storage is protected you will see an “Unlock drive” button, click below the Browse button. By clicking the link, you will see the device and then have to enter the unlock password (or unlock key). If, by any chance, you do not know or forgot your password, please refer to Microsoft BitLocker Frequently Asked Questions (FAQ).

Unlock or overwrite the source volumes, protected with BitLocker
In this case, Veeam Endpoint Backup FREE will throw out a dialog asking for you to decide either to restore volumes from the backup unencrypted, erasing the existing BitLocker protection, or manually unlock the original volumes and then get them replaced with the volumes from the backup.

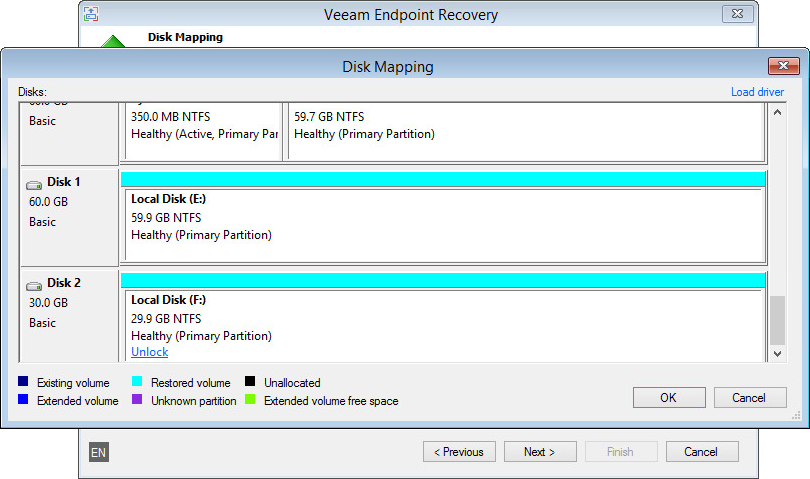
If you want to keep BitLocker protection enabled, hit “Cancel” at the dialog prompt and go to “Manual Restore” click “Customize disk mapping” and hit “Unlock” under the volume you would like to replace.
Conclusion
More and more devices are BitLocker encrypted by default, and this is certainly not a bad thing. Encryption, however, comes with challenges. When it comes to backup and recovery, Veeam Endpoint Backup FREE is designed to address those challenges.
See Also