Welcome back to the second part of our Windows Server 2016 deployment series. Today, we will continue our discussion with the details behind deploying Hyper-V server and managing it.
Install Hyper-V role
If this is your first time deploying Hyper-V, I’m sure you’ll be surprised how easy it is to install Hyper-V role on Windows Server. All that power of virtualisation can be unleashed with just one simple command. First, bring up the PowerShell from the command line by typing in “PowerShell” and we’re good to go. Once we’re in, type the following command (see Fig. 1):
Install-WindowsFeature Hyper-V
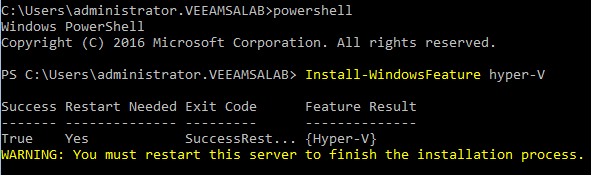
Figure 1: Install Hyper-V role via PowerShell.
I promised you it would be simple! But of course, this is just a tip of an iceberg and the very start of our journey.
Manageability
Although you will be able to manage many of the server’s aspects from the command line or PowerShell, you ought to use the Hyper-V Manager tool. Because our server doesn’t have any graphical interface, we would have to run it from a remote computer to manage Hyper-V. For example, you can deploy Hyper-V Manager on any server or workstation and connect to the core server. That way you’ll speed up the configuration and management of the Hyper-V infrastructure.
To enable the remote management on our Hyper-V server, we need to provide correct permissions first. To do so, let’s run these commands in the PowerShell on our server:
Enable-NetFireWallRule -DisplayName “Windows Management Instrumentation (DCOM-In)”

Enable-NetFireWallRule -DisplayGroup “Remote Event Log Management”

Enable-NetFireWallRule -DisplayGroup “Remote Service Management”

Enable-NetFireWallRule -DisplayGroup “Remote Volume Management”

Enable-NetFireWallRule -DisplayGroup “Windows Firewall Remote Management”

Enable-NetFireWallRule -DisplayGroup “Remote Scheduled Tasks Management”
In case security is not a concern, you will be able to disable the firewall using this command:
Get-NetFirewallProfile | Set-NetFirewallProfile -enabled false
And run the last command on the management server to be done:
Enable-NetFirewallRule -DisplayGroup “Remote Volume Management.”
Hyper-V configuration
First off, let’s add our server by right-clicking Hyper-V Manager and selecting the “Connect to Server” option. Now, enter the Core Server IP/Hostname (see Figure 2). Starting with Hyper-V 2016, you can also use alternative credentials to remotely connect to Hyper-V host as opposed to enforced Hyper-V Administrator ones in previous versions.
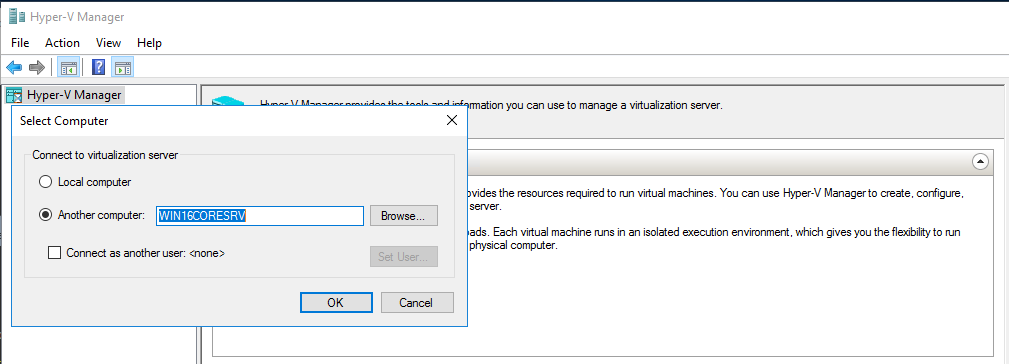
Figure 2: Adding Hyper-V server into the Hyper-V Manager.
Once our Hyper-V server is connected and recognized within Hyper-V Manager, we can start our configuration. First of all, let’s make sure that all Hyper-V files will be located on the correct drive. If you remember, in the previous blog we connected an iSCSI storage to our soon-to-be Hyper-V server as a “V:” drive. Now, let’s right-click on the server and go into its settings. Find the “Virtual Hard Disks” and “Virtual Machines” fields to specify the default folders for storing the files (see Figure 3).
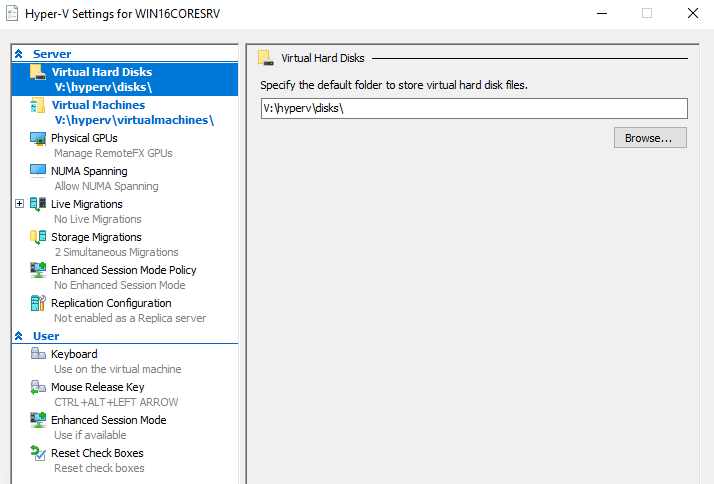
Figure 3: Specifying file locations in Hyper-V Manager.
Next, we’ll configure our Virtual Network. As an example, let’s create an external network that binds to a physical network adapter. Select the “Virtual Switch Manager” option in the Actions menu of your Hyper-V server (Figure 4).
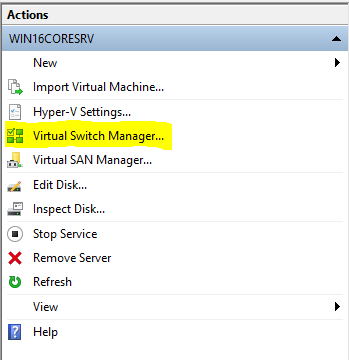
Figure 4: Actions menu of the Hyper-V server.
We’ll go for an External Virtual Switch in our case (Figure 5)

Figure 5: Picking the type of Virtual Switch in Virtual Switch Manager.
Give it a name. We’ll go with a simple “PublicNetwork” (Figure 6)
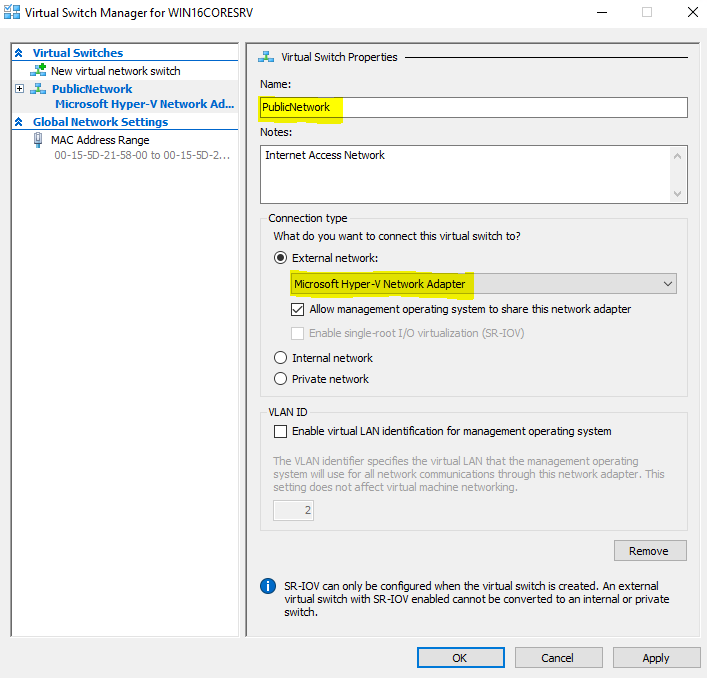
Figure 6: Name and connection type options for Virtual Switch.
With this configuration, you are ready to start creating virtual machines for your production and/or testing use. In the next article, we will explore some important details on how to set up your backup infrastructure with Hyper-V and how to achieve optimal performance and protection with Veeam Backup & Replication.
Side note: Testing environment with Nested Hyper-V
With Windows 2016, Microsoft provides an option to run a Hyper-V inside of a Hyper-V, which is called Nested Virtualization. If you wish to install another Hyper-V Server for learning purposes, you need to run this command on the Hyper-V server while your target test VM is powered off:
Set-VMProcessor -VMName "Test VM" -ExposeVirtualizationExtensions $true