Veeam is extending its storage integration offerings to the support of Nimble Storage arrays in the upcoming Veeam Availability Suite 9.5. The Beta is already available for testing, and I used this chance to get first-hand experience. In this post, I’ll share insights from my experience and review the functional use cases delivered by this Veeam-Nimble Integration.
The Veeam-Nimble integration follows the same approach as Veeam’s existing integration capabilities with other enterprise storage solutions. It’s all about leveraging the underlying storage hardware and snapshot capability. The Veeam-Nimble integration offers the benefits of minimum impact on the virtual infrastructure during the backup process, RTPO of less than 15 minutes and verified recoverability.
I tested the following key capabilities enabled by Veeam’s Nimble Storage integration in my lab:
- Scheduling the creation of Nimble Storage snapshots with application-consistent VM images
- Replication orchestration of Nimble Storage snapshots
- Backing up from Nimble Storage snapshots (or their replicated copies)
- Granular and full recovery from Nimble Storage snapshots (or their replicated copies)
- Creating a Virtual Lab from Nimble Storage snapshots for testing, development, training and Big Data mining.
NOTE: This is a Beta, so some of the screens are listed as TBD or may not have their icons/visualization complete as what we will see in the generally available build of Veeam Backup & Replication 9.5.
How to configure Nimble Storage array in Veeam console
Nimble Storage arrays are integrated directly via the Veeam console, which makes it possible to manage jobs and performance through a single pane. Configuring Nimble Storage array inside the Veeam console is easy and intuitive.
In the Veeam Backup & Replication console, navigate to the Storage Infrastructure tab, add the Nimble array and enter the array IP/DNS and credentials:
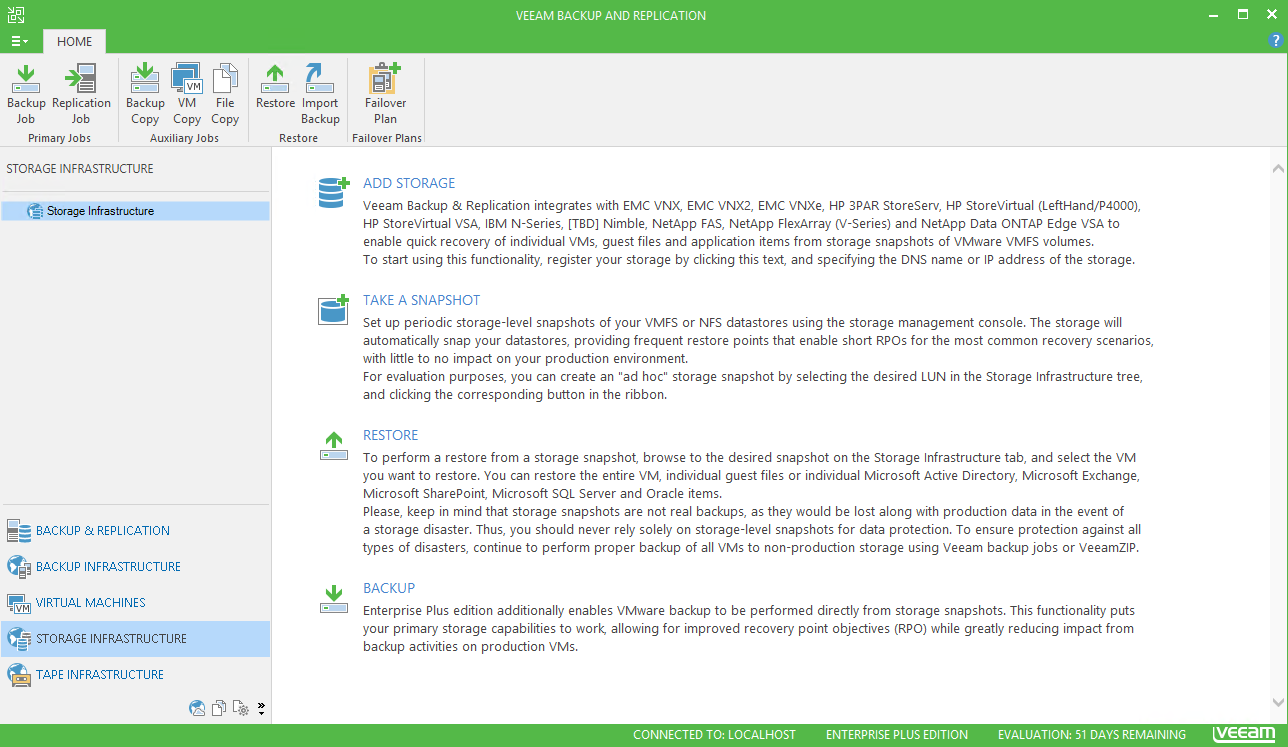


Then, configure a backup proxy by specifying the access option (I chose an iSCSI for my lab), and run the setup.

The setup takes a few minutes and, upon completion, you can browse the Nimble Array from the Veeam console, view rescan and can manually create Nimble Snapshots:

After the primary Nimble Storage array is added, you need to pass through all the above steps again and configure the secondary Nimble array, which you’ll use for further replication.
Creating a manual Nimble Storage snapshot
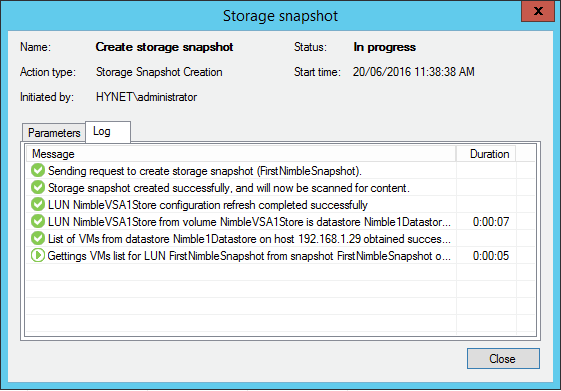
To create a manual Nimble Storage snapshot via the same Veeam console, right-click the controller and select Create snapshot. Give the snapshot a Name and provide its Description (optional):

Recovery from Nimble Storage snapshot
We can play with the restore now that the snapshot is created. You can now perform multiple recovery scenarios from the Veeam Backup & Replication console. Right-click the created snapshot to see a list of available options: Instant VM Recovery, guest-files restore and application-items restore.


I tested a guest-files restore for a Windows-based VM in my example. To perform the recovery from a Nimble snapshot, you need to specify the ESXi host that Veeam will use to mount the storage snapshot to as a temporary iSCSI Datastore (directly from the Veeam repository).
You can click Customize to specify a host where the storage snapshot will be temporary mounted:
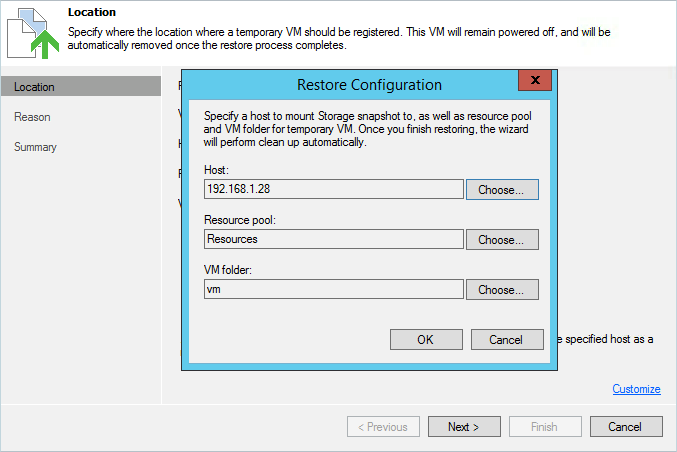
Once confirmed, Veeam will automatically mount the selected Nimble Snapshot from the Veeam repository and attach it to the ESXi host as a datastore:

After mounting the recovery point as a datastore (from the Veeam repository) to the ESXi host, Veeam will run Veeam Explorer to help you recover an individual file or application item as shown below (in this example, it’s an object-level recovery with Veeam Explorer for Microsoft Active Directory):

Even more insights on the new Veeam-Nimble integration are coming in my next blog! I’ll demonstrate how the Beta of Veeam Availability Suite 9.5 works with backup and replication from Nimble snapshots.