- Veeam Support Knowledge Base
- How to Restore Individual Files When FLR Fails
How to Restore Individual Files When FLR Fails
| KB ID: | 1459 |
| Product: | Veeam Backup & Replication | 10 | 11 | 12 | 12.1 | 12.2 | 12.3 | 12.3.1 | 12.3.2 | 13 | 13.1 |
| Published: | 2011-12-20 |
| Last Modified: | 2024-02-26 |

Cheers for trusting us with the spot in your mailbox!
Now you’re less likely to miss what’s been brewing in our knowledge base with this weekly digest

Oops! Something went wrong.
Please, try again later.
Purpose
Solution
Summary
This restore method is the virtual equivalent of plugging a USB drive into one machine, copying the files needed to the drive, and then taking that drive to another machine. In this case, we are creating a new temporary virtual disk, attaching it to the Instant Recovered VM, copying the needed files to the disk, disconnecting it, and then connecting it to the production machine.
When initiating the Instant Recovery, you must
- use "Restore to a new location, or with different settings"
- change the "Restored VM name:" value.
Suggested to add the suffix _IR or _Restored
Restore Procedure
- Launch an Instant Recovery of the Virtual Machine from which you need to retrieve files.
- Use the “Restore to a new location” option.
Failure to select this will cause the Instant Recovery to display a prompt asking if the production machine should be deleted. - You must rename the Virtual Machine when performing the Instant Recovery. It is suggested to add a suffix, such as “_ir” or “_restored”
Failure to rename the Instant Recovered VM will cause the Instant Recovery wizard to display a prompt asking to overwrite the production server. - Uncheck the box for “Connect VM to network.”
Failure to do so will cause the restored VM to communicate with the production network and cause an IP conflict.
- Use the “Restore to a new location” option.
- After the Instant Recovery is successfully published, in VMware vSphere Client, create a new virtual disk for the VM. Create the disk on a production datastore. Make the disk large enough to contain the files you need to retrieve.
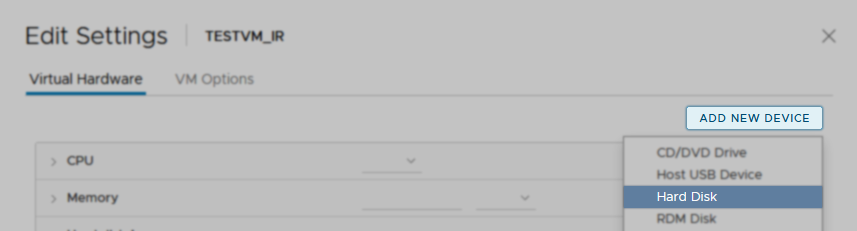
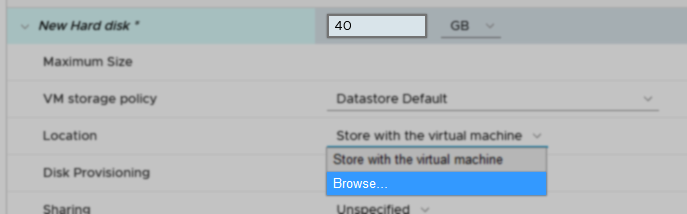
- Connect to the Guest OS of the Instant Recovered VM. As the VM has no network connection, you must use local or cached credentials.
- Initialize and format the temporary disk you attached in Step 2 just as you would any other disk in that operating system.
- Transfer the data you want to restore to that disk.
- When all data you need to retrieve is on the extra VMDK, edit the Instant Recovered VM and note the disk's name and location. Then, remove the extra disk from the instant recovered VM.
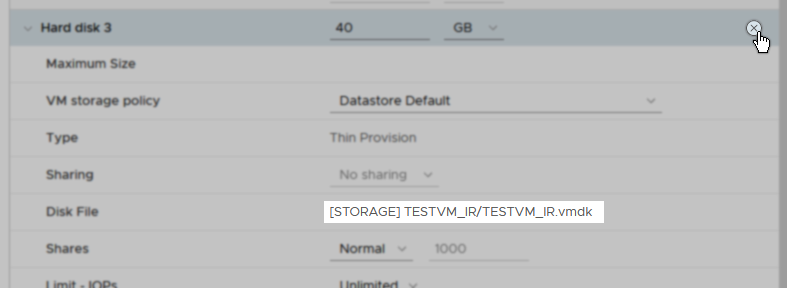
- Attach the extra disk to the machine in Production where the files are needed.
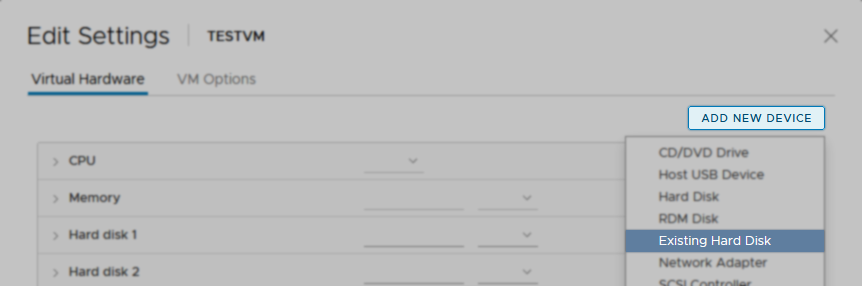
- Copy the files off the extra disk.
Cleanup
After the files have been copied off the extra disk, perform the following steps to clean up the environment:
- Remove the extra disk that was attached to the Production VM.
You may choose to delete the disk from the datastore. - Stop Publishing the Instant Recovery
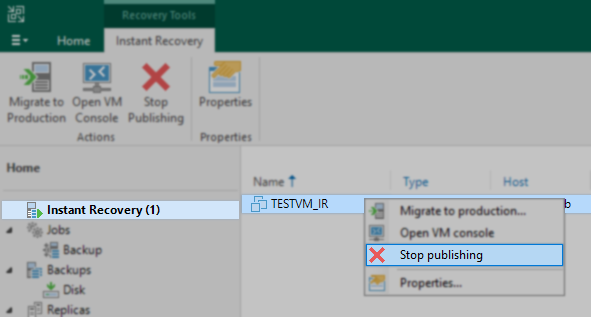
More Information
- This method can be used to restore files from any file system, which helps bypass the limitations of Windows FLR and multi-OS FLR.
- Instant Recovery can usually be accomplished in minutes, but recovery of large VMs from deduplicating storage may take over an hour.
- Instant Recovery to VMware does not require pre-allocating datastore space for the disk of the Instant Recovered VM.
- Instant Recovery for Hyper-V will pre-allocate the entire size of the virtual disks if "Allocate required disk space before migration" is selected.
If this KB article did not resolve your issue or you need further assistance with Veeam software, please create a Veeam Support Case.
To submit feedback regarding this article, please click this link: Send Article Feedback
To report a typo on this page, highlight the typo with your mouse and press CTRL + Enter.
