High Availability of data and applications has been an important topic in IT for decades. One of the critical services in many companies is the file servers, which serve file shares where users or applications store their data. If the file server is offline, then people cannot work. Downtime means additional costs, which organizations try to avoid. Windows Server 2019 (and earlier versions) allow you to create highly available file services.
This blog describes how to create a file server cluster with Microsoft Windows Server 2019. An earlier blog post describes how to set up a Windows Failover Cluster (WFC) with Server 2019, while this blog post presumes that the failover cluster already exists.
Setting up a File Server Cluster
Before we can start with the file server cluster configuration, the file server role must be installed and permissions must be set in Active Directory for the failover cluster computer object.
There are two ways to install the file server role on the two cluster nodes:
- Via the Add Roles and Features Wizard of the server manager
- Via PowerShell
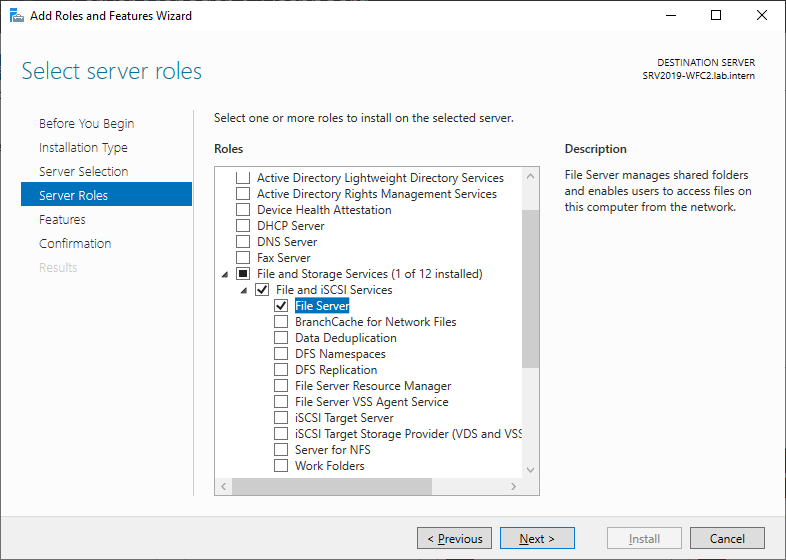
In Server manager, click Add roles and features and follow the wizard. Select the File Server role and install it. A reboot is not required.
As an alternative, you can use the following PowerShell command to install the file server feature:
Install-WindowsFeature -Name FS-FileServer
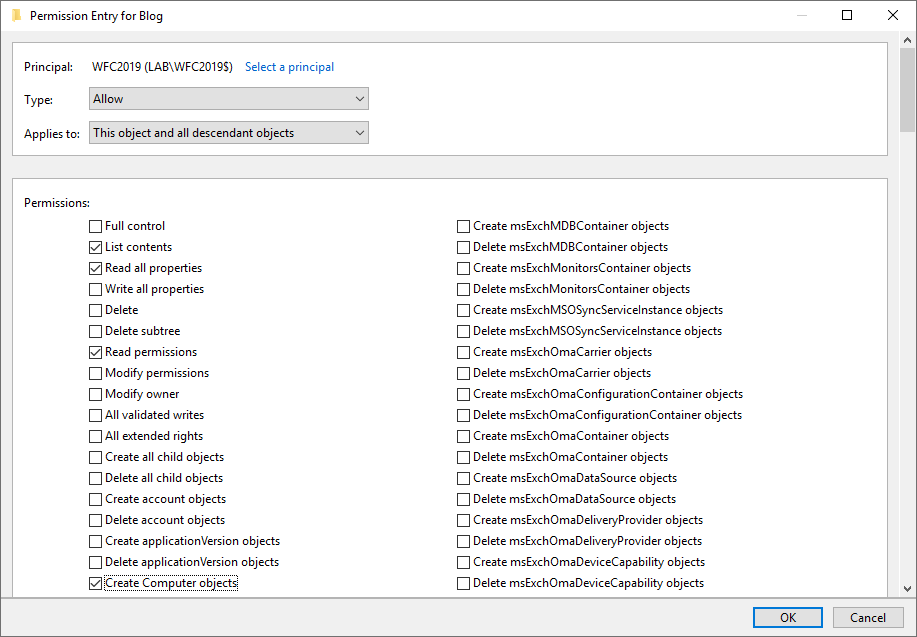
To avoid errors at later steps, first configure Active Directory permissions for the failover cluster computer object. The computer object of the cluster (in my case, WFC2019) must have the Create Computer Objects permissions in the Active Directory Organizational Unit (OU).
If you forget about this, the role will fail to start later. Errors and event IDs 1069, 1205 and 1254 will show up in the Windows event log and failover cluster manager.
Open the Active Directory Users and Computers console and switch to Advanced Features in the View menu.
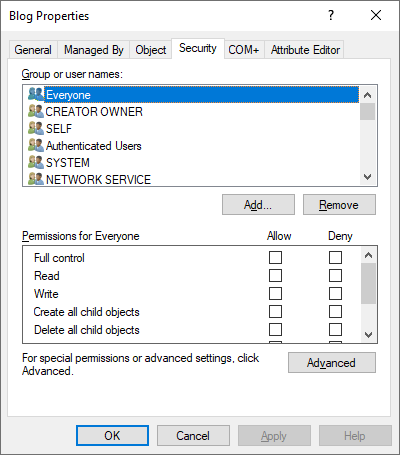
Go the OU where your cluster object is located (in my case the OU is Blog). Go to the Security tab (in properties) and click Advanced.
In the new window click Add and select your cluster computer object as principal (in my case WFC2019).
In the Permissions list select Create Computer objects
Click OK in all windows to confirm everything
Configure the file server cluster role
Because all pre-requisites are now met, we can configure the file server cluster role. Open the Failover Cluster manager and add the role to your cluster (right-click on Roles of your cluster -> configure role -> and select the File Server role).
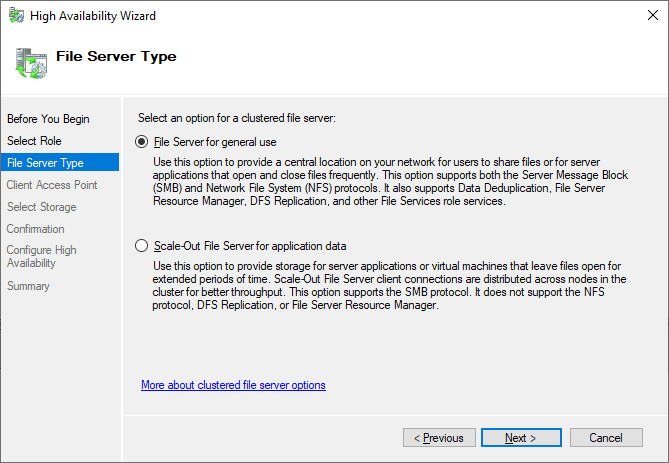
We will create a file server for general use as we plan to host file shares for end users.
In the next step we define how clients can access the file server cluster. Select a name for your file server and assign an additional IP address.
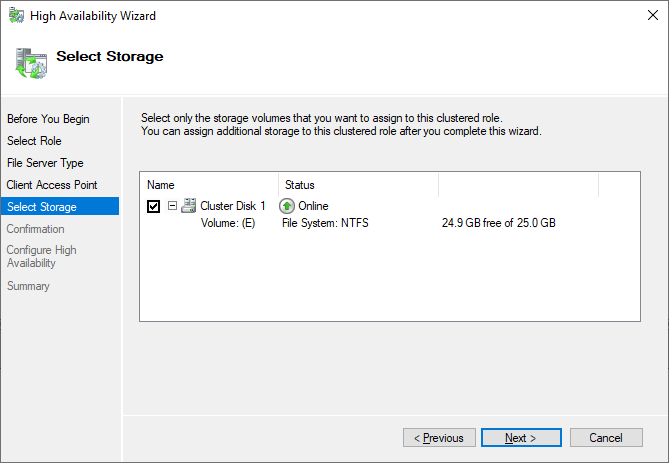
Use the storage configured earlier.
After you finish the wizard, you can see the File Server role up and running in the Failover Cluster Manager. If you see errors here, check the create computer objects permissions described earlier.
A new Active Directory object also appears in Active Directory Users and Computers, including a new DNS entry.
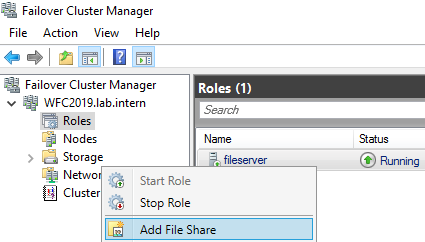
Now it’s time to create file shares for users. You can right-click on the file server role or use the actions panel on the right hand side.
I select the SMB Share – Quick as I plan a general purpose file server for end users.
I also keep the default permissions because this is just an example. After you have finished the wizard, the new file share is ready to use.
In the following video I show the advances of a continuous available file share. The upload of the file will continue even during a cluster failover. The client is a Windows 10 1809. I upload an iso to the file share I created earlier. My upload speed it about 10-20Mbit/s WAN connection. During failover to a different cluster node, the upload stops for some seconds. After successful failover it continues uploading the ISO file.
Next steps and backup
As soon as the file server contains data, it is also time to think about backing up the file server. Veeam Agent for Microsoft Windows can back up Windows failover clusters with shared disks. We also recommend doing backups of the entire system of the cluster. This also backs up the operating systems of the cluster members and helps to speed up restore of a failed cluster node because you don’t need to search for drivers, etc. in case of a restore.

