Veeam ONE is the complete monitoring and analytics tool for the Veeam platform. When paired with Veeam Backup & Replication, users can deliver true proactive management of their backup environment with reporting and visibility that help increase backup success, streamline support experience and track backups against stringent compliance goals. Veeam ONE is designed to give IT administrators peace of mind to manage every aspect of the modern virtual environment.
Veeam ONE brings deep visibility that helps you prevent common backup problems, stay informed about your storage trends and cut costs through better storage usage and planning, thanks to new insights for NAS data.
In the typical deployment scenario, all Veeam ONE components are installed on a single machine, and this comprises of the Veeam ONE Client and Veeam ONE Web Client.
- Veeam ONE Client is the primary tool used for monitoring the virtual environment for Veeam Backup & Replication infrastructure. In the Veeam ONE Client, you can manage, view and interact with alarms and monitoring data, analyze the performance of virtual and backup infrastructure components, track the efficiency of data protection operations, troubleshoot issues, group your virtual infrastructure and administer monitoring settings.
- Veeam ONE Web Client provides a set of dashboards and reports that allow you to verify configuration issues, optimize resource allocation and utilization, track implemented changes, plan capacity growth and track whether mission-critical workloads are properly protected in the virtualized data center.
Below are the steps needed to install and run the Veeam ONE monitor in your environment. The release version of Veeam ONE 11 is available for download at the following link. After download, you will have to mount the Veeam ONE ISO as shown below.
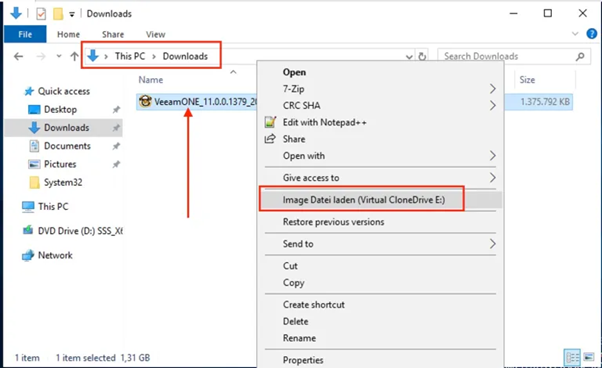
Next, you will have to double click on the setup file as shown below to begin the Veeam ONE installation.

Accept the User Account Control. You may want to read more about this from this link.
After executing Veeam ONE, you will see a nice splash screen as shown below. Click in install Veeam ONE Server.
- In the next video, we will be installing the Veeam ONE Client.
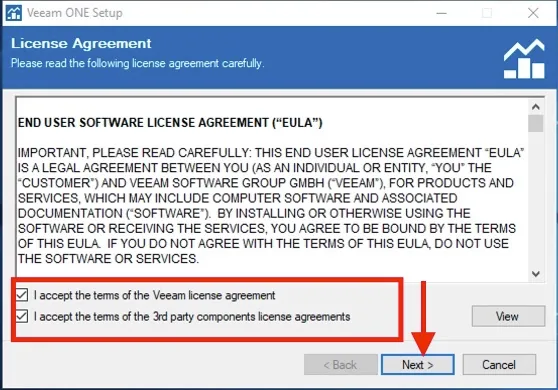
Accept the Veeam license agreement and third-party components license agreement.
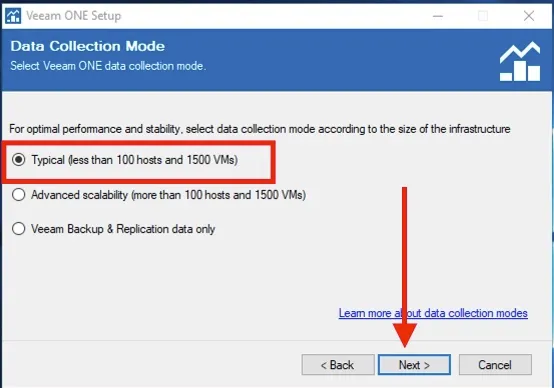
Select a deployment scenario: I will be selecting the “Typical”. Click on Next.

Before proceeding with the installation, the installer will perform a system configuration check to determine if all prerequisite software is available on the machine.
- To install the missing software components and enable missing features automatically, click the Install button.

Click on Next to continue the system installation.

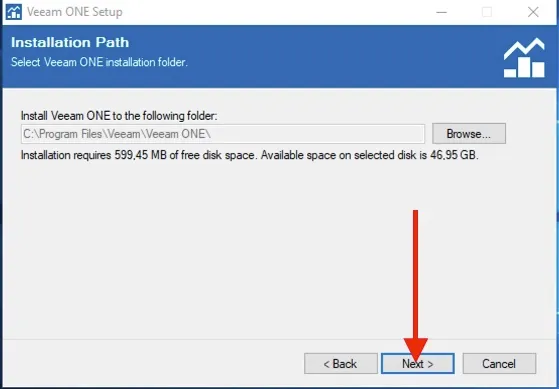
You can change the installation path, but I am okay with the default installation path as shown below
Enter your Service Account password. At the Service Account step of the wizard, specify credentials of the account under which the Veeam ONE services will run. The username must be specified in the DOMAIN\USERNAME format.

- If you wish to install unto an already existing database, please select “Use existing instance of SQL Server”Note: Ensure the SQL Server services is running, else it will fail.
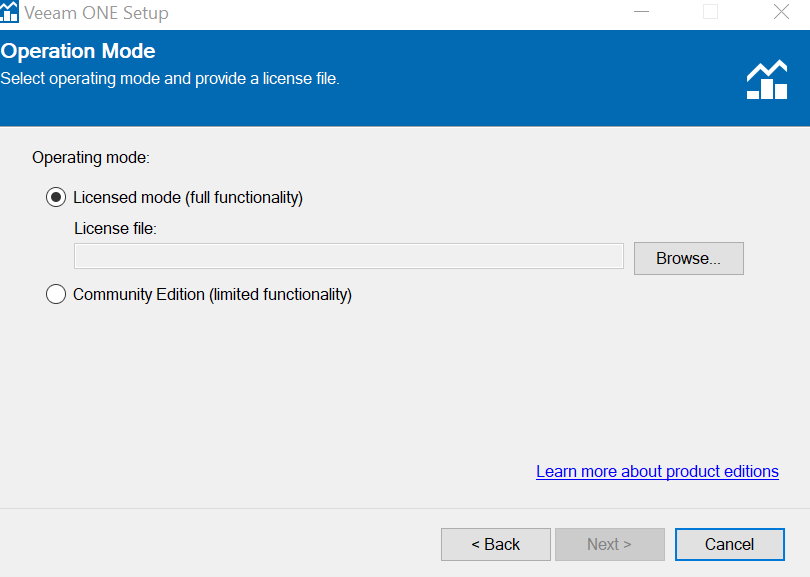
For the operating mode, select Licensed Mode (full functionality) (limited functionality) and use the license files you received with your product download, .
Click Browse and specify the path to the license file.
Specify Connection Ports: At the Connection Configuration step of the wizard, specify connection settings for Veeam ONE Reporting Service, internal Web API and Veeam ONE agent.

Performance Cache Location: performance cache is space on the disk to which Veeam ONE stores real-time performance data, as this data is collected. Performance data stored in cache is used for Veeam ONE Client dashboards and views. Disk-based performance cache allows significantly decrease RAM utilization on the machine that runs the Veeam ONE Server component.
- By default, the performance cache is stored in the C:\PerfCache folder.
- To store the cache in a different folder, click Browse next to the Path field and specify a path to the new folder.

Choose Virtual Infrastructure Type: at the Virtual Infrastructure Type step of the wizard, you can choose to connect a vCenter Sever or Hyper-V infrastructure server (Failover Cluster, SCVMM, Hyper-V Server). To configure connection to a virtualization server and initiate automatic data collection from this server, select the virtualization server type and click Next.

In the data collection mode, select the first option.
Please review the installation configuration to ensure that you have provided correct settings.
- Select the Periodically check for product updates once Veeam ONE is installed check box if you want Veeam ONE to automatically check and download available updates.

As you can see, the Veeam ONE installation is complete. Click on Finish to close the wizard

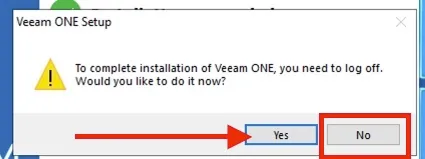
When Veeam ONE installation completes, the installer will prompt you to perform the logoff and logon procedure to create new user groups that will be used to accommodate user accounts for accessing Veeam ONE locally and remotely.

Next, click on the Veeam ONE Client as shown above and connect to it.
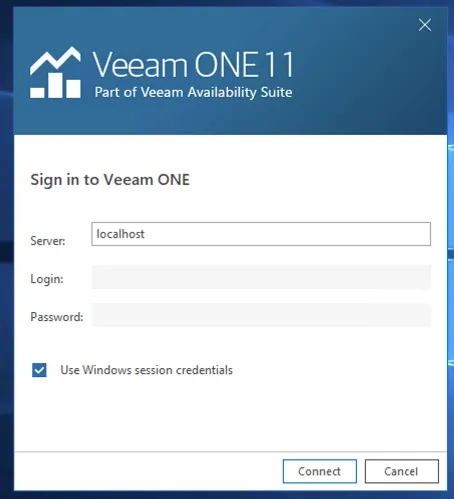
As you can see, we are right in the console of the Veeam ONE Monitor.

You can also access via the Veeam ONE Web Client by doubling click on the short cut as shown above, enter the credential. You must use the following SAM format” domain\user_account” else it will never work.

If the login works correctly, you should be in the Veeam ONE Web Client interface as shown below.
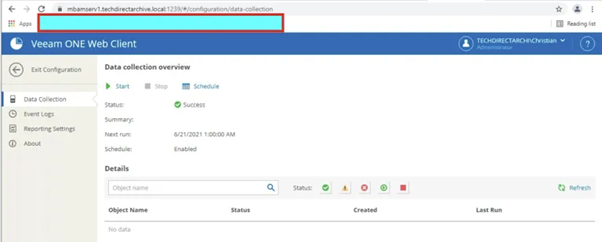
The Veeam ONE Web Client does not require complex configuration and is ready for use right after the installation of Veeam ONE. However, before you start using Veeam ONE Web Client, you may need to check and adjust its default configuration.
- Schedule data collection for connected servers
- Customize reporting settings
- Schedule dashboards and report delivery